Ah, the scent of yerba mate tea simmering in the morning is among my most cherished aromas. It transports me back to my journey across South America and the profound bonds I formed with the locals while sharing a gourd of mate.
Now, as an avid yerba mate drinker, I find myself wanting to share this tradition with others and teach them how to brew their own perfect cup.
Brewing yerba mate can seem intimidating at first, but with the right equipment and technique, anyone can enjoy this delicious and energizing beverage.
In this article, I will guide you through the steps of preparing and serving your own yerba mate tea, so that you too can experience the joy of sharing a gourd with friends or savoring a quiet moment alone with a good book.
So let’s get started!
Key Takeaways
- Choosing the right yerba mate blend and brewing method is crucial for flavor and potential health benefits.
- Properly measuring the right amount of yerba mate and steeping time is important for a balanced flavor and strength.
- Yerba mate leaves should never be burned and should be brewed with water around 160-180°F (70-80°C).
- Decorating the gourd and choosing the right bombilla can enhance the yerba mate drinking experience.
Top picks for "brew yerba mate"
Open Amazon search results for this keyword.
As an affiliate, we earn on qualifying purchases.
Equipment Needed for Brewing
You’ll need a few items to get started brewing your own delicious yerba mate tea, so grab your favorite mug and let’s get started!
First, you’ll need a yerba mate strainer. There are different types of strainers available in the market. The most common ones are bombillas or metal straws with a built-in filter at one end that prevents the leaves from getting into your mouth while drinking.
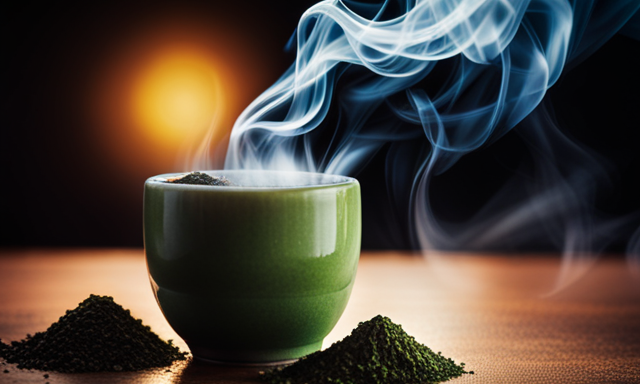
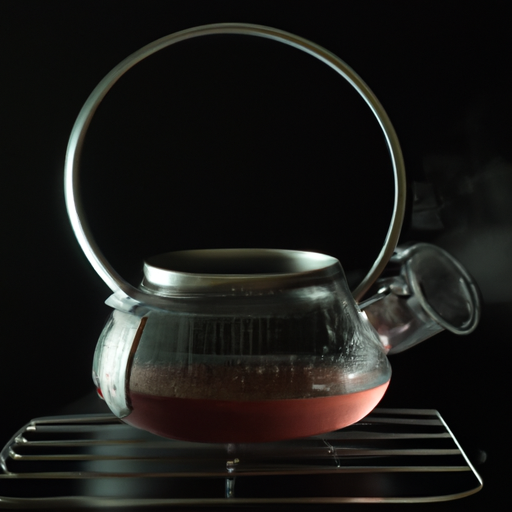
The second item you’ll need is hot water. The temperature of the water plays an essential role in brewing Yerba Mate tea. Ideally, the temperature should be around 160-180°F (70-80°C). If the water is too hot, it can burn the leaves and result in a bitter taste. Using cold water will not extract all the nutrients from the leaves and may leave behind an unpleasant taste.
Choosing the right yerba mate is crucial for getting that perfect cup of tea. Look for organic or natural brands that source their leaves from reputable farms. You can choose between traditional or flavored yerba mate blends depending on your preference.
With these items in hand, you’re ready to brew yourself a refreshing cup of yerba mate tea that will keep you energized throughout the day!
Choosing the Right Yerba Mate
Just like selecting the perfect grape for a fine wine, choosing the right yerba mate is crucial to achieving the desired flavor and aroma.
When browsing through different brands, take note of their flavors and blends. Some companies offer a wide range of options, from traditional unsmoked yerba mate to infused blends with fruit or herbs. It’s important to read the labels carefully and understand what ingredients are used in each blend.
Aside from its delicious taste, yerba mate also offers various health benefits. This popular South American beverage is known for its high antioxidant content, which helps protect against free radicals that can cause cell damage. Yerba mate is also believed to boost energy levels, improve mental clarity and focus, aid digestion, and support cardiovascular health. When choosing your yerba mate brand, consider these potential health benefits as well.
Now that you’ve chosen your preferred yerba mate blend, it’s time to move on to preparing the gourd.
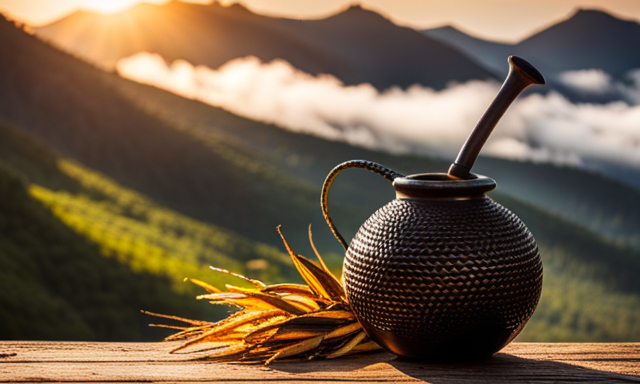
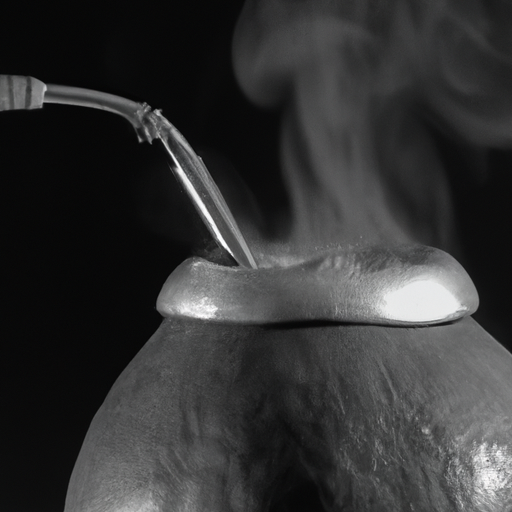
Preparing the Gourd
First, grab your gourd and fill it with about two-thirds of its capacity with yerba mate leaves.
Before you start brewing, make sure that your gourd is properly prepared. Decorating the gourd not only adds a personal touch to your mate drinking experience but also protects the gourd from cracking. You can decorate it by painting or carving designs on it using natural materials like wood or leather.
Next, clean your bombilla before inserting it into the gourd. The bombilla is a metal straw with a filter at one end used for sipping the tea. It’s essential to clean the bombilla after every use to prevent clogging and ensure proper airflow. To clean, disassemble all parts of the bombilla and wash them thoroughly with hot water and soap.
Now that your gourd is decorated and your bombilla is cleaned, you’re ready to start filling the gourd with hot water. Remember not to pour boiling water directly onto yerba mate as this will burn the leaves and ruin their flavor. Instead, heat up some water until just below boiling point (around 160-180°F) and pour it over the yerba mate in a circular motion until it reaches near the top of the leaves inside the gourd.
With your gourd properly prepared, decorated, and filled with yerba mate leaves, cleaning your bombilla ensures that you’ll have an enjoyable brewing experience without any blockages in airflow.
Now that we’ve gone through how to prepare our gourds, let’s move on to filling them up!
Filling the Gourd
Now that I’ve prepared my gourd, it’s time to fill it with yerba mate.
The first step is measuring the amount of yerba mate needed for the gourd. I like to use about two-thirds of the gourd’s capacity.
After adding the yerba mate, I shake and settle it to create a level surface for inserting the bombilla.
Measuring the yerba mate
To measure the yerba mate for your tea, you’ll need to scoop it into a gourd or infuser until it’s about 2/3 full. Measuring technique is crucial when brewing yerba mate because it affects the taste and strength of your tea.
If you use too much yerba, your tea will be too strong and bitter, while using too little will result in a weak brew. It’s important to measure accurately to get the perfect balance of flavor and strength.
I like to use a spoon or bombilla to scoop the yerba mate into my gourd, making sure not to pack it down too tightly. Once I have filled my gourd 2/3 full, I’m ready for the next step: shaking and settling the yerba mate.
Shaking and settling the yerba mate
Once you’ve measured the perfect amount of yerba mate, it’s time to give it a gentle shake and settle before adding hot water. Shaking the yerba mate ensures that any fine particles or dust at the bottom of the container are evenly distributed throughout the mixture. This helps to enhance the flavor and aroma of the tea.
There are different shaking techniques you can use depending on your personal preference. Some people prefer to gently tap the container on a flat surface, while others like to rock it back and forth in their hands. Whichever method you choose, make sure not to shake too vigorously as this can cause the yerba mate leaves to break apart and result in a bitter taste.
Once you’ve shaken your yerba mate, let it settle for a few seconds before proceeding with inserting your bombilla into the brew.
Now that our yerba mate is nicely shaken and settled, we can move onto inserting our bombilla into the mixture.
Inserting the Bombilla
When it comes to yerba mate tea, the bombilla plays a crucial role in the drinking experience. Choosing the right bombilla can make all the difference in flavor and ease of use.
Once you’ve selected your bombilla, it’s important to know how to properly insert it into your gourd for optimal results. As a passionate yerba mate enthusiast, I can attest that getting these details right will greatly enhance your enjoyment of this beloved beverage.
Choosing the right bombilla
Get ready to experience the full flavor of yerba mate by selecting the perfect bombilla for your tea. The right bombilla can make all the difference when it comes to enjoying a delicious cup of yerba mate.
Here are three things to keep in mind when choosing a bombilla:
-
Types of bombilla: There are different types of bombillas, including classic, spoon-shaped, spring-loaded, and more. Each type has its own unique advantages and disadvantages, so it’s important to choose one that suits your personal preferences.
-
Cleaning the bombilla: It’s essential to clean your bombilla regularly to avoid clogging and ensure optimal taste. You can use a pipe cleaner or brush specifically designed for cleaning bombillas.
-
Material: Bombillas can be made from various materials such as stainless steel, brass, bronze, or bamboo. Choose a material that is durable and easy to clean.
Now that you know what to look for in a good quality bombilla, let’s move on to inserting it correctly into your yerba mate gourd without disturbing the leaves too much.
Inserting the bombilla correctly
To savor the full flavor of your yerba mate, it’s essential to insert your bombilla correctly into the gourd. Correct bombilla insertion techniques involve carefully placing the filter end at the bottom of the gourd, making sure it doesn’t touch any of the sides, and gently moving it around until it reaches the center.
Once you have positioned your bombilla correctly, avoid touching or moving it around too much as this could disrupt the yerba mate leaves and result in a less flavorful brew. After enjoying your yerba mate tea, cleaning the bombilla is also crucial in maintaining its quality.
To do so, simply remove any remaining leaves by tapping out or rinsing them off with water. Then run a pipe cleaner through both ends of the bombilla to clear out any clogs and residue that may have accumulated during use. Properly inserting and cleaning your bombilla allows for a better yerba mate experience and ensures that you’re getting all of its health benefits with every sip.
Now that we’ve covered how to correctly insert and clean your bombilla, let’s move on to pouring the water for optimal brewing results.
Pouring the Water
Now that you’ve prepared the mate gourd and yerba mate, it’s time to pour hot water over the leaves. The temperature of the water is crucial for a perfect brew. Ideally, the water should be heated to 160-180°F (70-80°C). Boiling water can make the tea bitter and ruin its flavor.
When pouring the water into the gourd, do so slowly and gently. The goal here is not to create turbulence but rather to wet all of the yerba mate leaves gradually. It’s important not to fill up the gourd entirely with water as this can also spoil the taste of your tea.
Once you have poured enough hot water into your cup, it’s time to let it steep properly. This will allow all of those essential oils and flavors from the yerba mate leaves to infuse into your drink.
I recommend letting it steep for about two minutes before sipping on it. During this time, take some deep breaths and enjoy how relaxing and soothing this experience is for both mind and body!
Steeping the Yerba Mate
When it comes to steeping yerba mate, there are a few key factors to keep in mind. First and foremost is the steeping time and frequency. Depending on your personal preferences, you may want to steep your yerba mate for anywhere from 1-5 minutes, and some people prefer multiple infusions from one serving of yerba mate.
Additionally, it’s important to consider reusing the yerba mate leaves between infusions in order to get the most out of each serving. As someone who’s been brewing and drinking yerba mate for years, I can attest to the importance of mastering these techniques in order to enjoy a truly delicious cup of tea every time.
Steeping time and frequency
Don’t worry about steeping yerba mate for too long, as the longer you steep it, the stronger the flavor will be. However, it’s important to keep in mind that there is a sweet spot when it comes to steeping time and frequency.
Typically, yerba mate should be steeped for around 3-5 minutes in hot water (between 150-180°F). Experimenting with different steeping temperatures and trying different brewing methods can also affect the flavor profile of your yerba mate tea.
For example, some people prefer to use a French press or a traditional gourd to brew their yerba mate instead of using a teapot. It’s all about finding what works best for you and your taste preferences.
Once you’ve found your ideal steeping time and method, feel free to reuse the yerba mate leaves multiple times before discarding them. This not only saves on waste but can also provide slightly different flavors with each subsequent brew.
Reusing the yerba mate
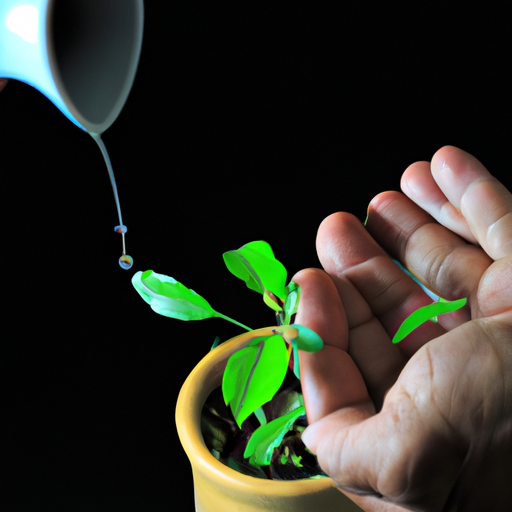
To get the most out of your yerba mate, try reusing the leaves for multiple infusions, providing a unique flavor experience each time. Not only is this an economical choice, but it also allows you to explore different taste profiles with each infusion. However, it’s important to properly store your yerba mate in between uses to prevent mold growth and maintain freshness.
One creative way to reuse yerba mate leaves is by incorporating them into smoothies or baking recipes. The earthy flavor of yerba mate can add depth to baked goods like muffins or bread, while also providing a caffeine boost. Another option is to use the used leaves as compost for your garden – they are rich in nutrients that can help your plants grow strong and healthy. By finding new ways to incorporate used yerba mate leaves into our daily lives, we not only reduce waste but also appreciate the full potential of this beloved tea.
As we continue our journey with yerba mate, let’s shift our focus from brewing techniques to drinking and sharing customs around this beverage.
Drinking and Sharing Yerba Mate
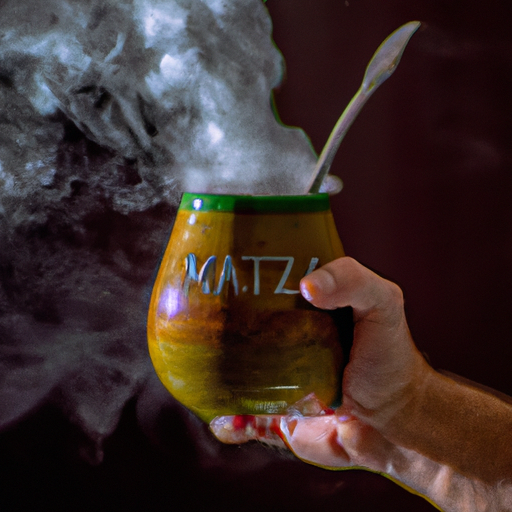
Drinking yerba mate with friends is a fun and social experience that can bring people closer together. My friend group gathers around a gourd to share stories and laughter. It’s not just about the tea itself, but also about the sharing etiquette and cultural significance behind it.
In South America, where yerba mate is most commonly consumed, it’s seen as a symbol of friendship, hospitality, and community. When sharing yerba mate with others, there are certain rules to follow. The person preparing the drink is called the ‘cebador,’ and they’re responsible for filling up the gourd with hot water and passing it around to each person in turn.
It’s important to never touch or move the bombilla (metal straw) that’s inserted into the yerba mate, as this can disrupt its flavor. Instead, you should sip from one side of the bombilla only and pass it back to the cebador once you’ve finished. Aside from its cultural significance, drinking yerba mate has many health benefits as well.
It contains antioxidants, vitamins, minerals, and caffeine without causing jitters or crashes like coffee does. Plus, its unique taste is refreshing yet earthy at the same time. So next time you’re hanging out with friends or simply want to unwind after a long day at work, consider brewing some yerba mate and enjoying it together in a tradition that spans centuries.
Frequently Asked Questions
How does the taste of yerba mate compare to other types of tea?
As someone who’s tried a wide variety of teas, I can confidently say that the flavor profile of yerba mate stands out from the rest. It has a unique earthy taste with hints of bitterness and sweetness that sets it apart from other types of tea.
Yerba mate is also culturally significant in South America, where it’s been consumed for centuries as a social drink and medicinal remedy. The way it’s brewed and served varies depending on the country, but the act of sharing yerba mate with others is an important part of social gatherings.
Overall, if you’re looking for a distinct and flavorful tea with cultural significance, give yerba mate a try!
Can I reuse the yerba mate leaves for multiple brewing sessions?
Yes, you can definitely reuse yerba mate leaves for multiple brewing sessions. In fact, this is a common practice in South America where yerba mate is consumed regularly.
The flavor of the tea may not be as strong with each subsequent brew, but there will still be plenty of taste and health benefits to enjoy. To retain the flavor as much as possible, it’s important to properly store the used leaves in an airtight container or bag between brews.
Additionally, some people even prefer the taste of second or third brews because they tend to be smoother and less bitter than the first one. So go ahead and experiment with multiple brewing sessions – you might just discover a new favorite way to enjoy yerba mate!
Does yerba mate have any health benefits?
Yerba Mate benefits have been extensively researched and documented, making it an increasingly popular choice for health enthusiasts. This South American herbal tea is known to provide a wide range of health benefits.
Some of the benefits of Yerba Mate include boosting energy levels, reducing inflammation, aiding in weight loss, improving digestion, and even promoting mental clarity. Yerba Mate contains a high concentration of antioxidants and nutrients such as vitamins B and C.
In addition, studies have shown that drinking Yerba Mate can help lower the risk of heart disease and cancer. With all these amazing health benefits backed by research, it’s no wonder why Yerba Mate has become a staple in many people’s diets today.
Can I add milk or sweeteners to my yerba mate tea?
Yes, you can add milk or sweeteners to your yerba mate tea. However, it’s important to note that traditional yerba mate drinkers typically don’t add either of these.
Milk addition may not be the best choice as it can interfere with the absorption of some of the beneficial compounds in the tea. If you must use a sweetener, consider using honey or agave nectar instead of refined sugar for a healthier option.
Ultimately, how you choose to enjoy your yerba mate is up to personal preference and taste. Just keep in mind that adding milk or sweeteners may alter the taste and potential health benefits of this beloved South American beverage.
How long does yerba mate stay fresh and how should it be stored?
When it comes to storing yerba mate, it’s important to keep in mind that this tea can lose its freshness fairly quickly. Typically, yerba mate has a shelf life of about 6-12 months if stored properly.
To ensure that your yerba mate stays fresh for as long as possible, it’s best to store it in an airtight container in a cool, dark place. Avoid exposing the tea to direct sunlight or high temperatures, as this can cause the leaves to deteriorate more quickly.
If you’re someone who enjoys drinking yerba mate regularly, you may want to consider purchasing smaller quantities at a time so that you can consume the tea before it loses its freshness.
By taking proper care when storing your yerba mate, you’ll be able to enjoy this delicious and energizing beverage for months on end!
Conclusion
Well, that was a fun and informative journey into the world of yerba mate tea brewing! As someone who loves to experiment with different types of teas and beverages, I found this process both easy and enjoyable.
Whether you’re a seasoned yerba mate enthusiast or just starting out, there’s nothing like the satisfaction of preparing your own cup of tea.
As I sip on my freshly brewed yerba mate, I’m reminded of a quote by Maya Angelou: "I’ve learned that people will forget what you said, people will forget what you did, but people will never forget how you made them feel."That sentiment perfectly encapsulates the experience of sharing yerba mate with others.
It’s not just about the taste or the ritual; it’s about connecting with others in a meaningful way.
So next time you want to catch up with an old friend or get to know someone new, consider inviting them over for some yerba mate. Who knows? You might just create a memory that lasts a lifetime.