Crafting your own gourd not only adds a personal touch to your mate experience, but it also allows you to unleash your creativity. With the right materials and a little bit of patience, you can create a unique and beautiful gourd that reflects your style and personality.
From choosing the perfect gourd and preparing it to designing, shaping, and customizing, I will share detailed instructions on each step of the process. Along the way, I’ll also provide tips and tricks to ensure that your homemade gourd is durable, functional, and ready to be enjoyed for many mate sessions to come.
So, get ready to embark on a journey of creativity and craftsmanship as we dive into the art of making your own yerba mate gourd. Let’s get started!
Key Takeaways
- Choosing a natural sealant: Consider factors such as durability, ease of application, and desired look. Options include tung oil, beeswax, and food-grade epoxy resin. Follow manufacturer’s instructions for proper application.
- Waterproofing the inside of the gourd: Ensure the inside of the gourd is waterproofed for long-lasting use. Options include using food-grade epoxy resin or beeswax lining. Thoroughly coat the inside of the gourd and allow it to dry completely.
- Curing and seasoning the gourd: Curing involves removing impurities and improving durability by filling the gourd with yerba mate and hot water, letting it sit for 24 hours, and then rinsing. Seasoning involves adding yerba mate and hot water, allowing it to sit, and then rinsing repeatedly until the gourd develops a rich, earthy flavor.
- Adding a handle or straw: Enhance the aesthetic appeal and convenience of the gourd by choosing from a variety of handle designs and attaching them securely using strong adhesive or screws. Consider using a high-quality stainless steel straw for a modern twist, allowing for smoother flow and easy cleaning.
Top picks for "make yerba mate"
Open Amazon search results for this keyword.
As an affiliate, we earn on qualifying purchases.
Choose the Right Materials
Now, let’s dive into choosing the perfect materials for crafting your very own yerba mate gourd!
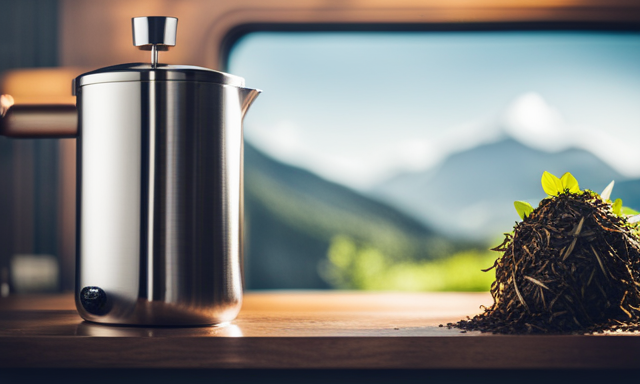
When it comes to making a yerba mate gourd, you have the option of using traditional or modern materials.
Traditional materials, such as calabash gourds, offer an authentic and rustic feel to your mate experience.
On the other hand, modern materials like stainless steel or ceramic provide durability and are easy to clean.
When choosing your materials, it’s important to consider sustainability. Opting for a reusable and eco-friendly material not only reduces waste but also contributes to a greener planet.
Whether you decide to go traditional or modern, make sure to select materials that align with your values and preferences.
Now that you’ve chosen the right materials, let’s move on to preparing the gourd for a perfect mate session.
Prepare the Gourd
To get your gourd ready, all you need is a little elbow grease and some good old-fashioned TLC. Cleaning and maintenance are essential to ensure the longevity of your yerba mate gourd. Start by gently scrubbing the inside of the gourd with a soft brush to remove any residue or impurities. Rinse it thoroughly with warm water and let it dry completely.
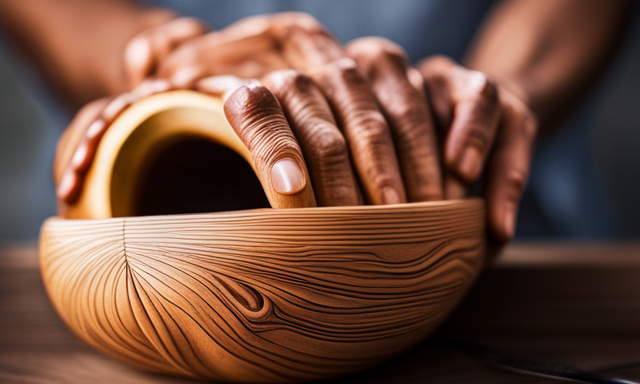
Now, let’s talk about alternative materials for your gourd. While traditional gourds are made from calabash, you can also find gourds made from wood or ceramic. Each material has its own unique qualities and aesthetics, so choose one that suits your preferences.
Incorporating design and decoration into your gourd is where your creativity can truly shine. From intricate carvings to colorful patterns, the possibilities are endless. So let your imagination run wild and create a gourd that reflects your personality and style.
Now, let’s move on to the exciting part – designing and decorating your yerba mate gourd!
Design and Decoration
Enhance the visual appeal of your gourd by incorporating intricate designs and decorative elements that reflect your personal taste and style.
When it comes to designing your yerba mate gourd, the possibilities are endless. You can use various design techniques such as carving, etching, or painting to create a unique and eye-catching design.
Consider incorporating traditional patterns or symbols that hold significance to the yerba mate culture. Experiment with different painting ideas, such as using vibrant colors or intricate brush strokes to bring your design to life.
Don’t be afraid to let your creativity run wild and make your gourd truly one-of-a-kind.
Once you have perfected your design, you can move on to the next step of cutting and hollowing out the gourd, which will prepare it for the yerba mate infusion.
Cut and Hollow Out the Gourd
To successfully cut and hollow out a yerba mate gourd, the first step is to mark and cut an opening. Using a sharp knife, carefully measure and mark a small circle on the top of the gourd. Ensure that it is large enough to fit a spoon or scoop. With steady hands, confidently cut along the marked line, creating an entrance into the gourd.
Once the opening is made, the next task is to remove the inner flesh and seeds. With a spoon or scoop, gently scrape away the soft inner flesh. Be cautious not to damage the walls of the gourd. It’s important to remove all the seeds as well, as they can affect the taste and quality of the yerba mate.
This process requires patience and precision, but the reward is a beautifully prepared gourd ready to be enjoyed with a delicious yerba mate infusion. Take the time to cut and hollow out the gourd properly to ensure a smooth and enjoyable drinking experience. This will allow the flavors of the yerba mate to shine through.
Mark and Cut an Opening
First, grab a sharp knife and carefully mark the spot where you want to cut the opening on your yerba mate gourd, remembering the old saying ‘measure twice, cut once.’ There are different techniques for marking the opening on a yerba mate gourd, but I find that a small cross or X-shaped mark works best. This helps guide the knife and ensures a clean cut.
Once you have marked the spot, take a deep breath and make a steady, confident cut along the lines, keeping the knife perpendicular to the gourd. Tips for achieving a clean and precise cut include using a sharp knife, applying even pressure, and making slow and deliberate movements.
With the opening marked and cut, it’s time to move on to the next step: removing the inner flesh and seeds.
Remove the Inner Flesh and Seeds
Once you’ve cut the opening, carefully scoop out the inner flesh and seeds from the gourd. This step is crucial to prepare the gourd for the yerba mate experience. By removing the inner flesh and seeds, you create a clean and smooth surface that will enhance the taste and aroma of your yerba mate. It also ensures that no unwanted flavors or textures interfere with the pure enjoyment of this traditional drink.
Using a small spoon or a melon baller, gently scrape the inner walls of the gourd, being careful not to damage the outer shell. Discard the flesh and seeds, or you can save them for other uses such as composting or planting.
Using a table in markdown format, let’s explore the benefits of using a gourd for yerba mate and alternative materials for making a yerba mate gourd:
| Benefits of using a gourd for yerba mate | Alternative materials for making a yerba mate gourd |
|---|---|
| Enhances taste and aroma | Wood |
| Traditional and authentic experience | Ceramic |
| Durable and long-lasting | Metal |
Now that the inner flesh and seeds have been removed, we can move on to the next step of shaping and smoothing the gourd, which will further enhance the overall experience of drinking yerba mate.
Shape and Smooth the Gourd
After carefully carving out the shape of the gourd, it’s time to sand down the edges for a smooth finish. This step is crucial to ensure that your yerba mate gourd is comfortable to hold and drink from.
To achieve smooth edges, I recommend using fine-grit sandpaper or a sanding sponge. Start by gently sanding the rough edges, applying even pressure and moving in a circular motion. As you sand, be sure to check the gourd’s shape and make any necessary adjustments.
Continue sanding until the edges feel smooth to the touch. Remember to take your time and be patient, as this process can be time-consuming.
Once the edges are perfectly smooth, you can move on to the next step of sealing and waterproofing the gourd, which will protect it and enhance its longevity.
Seal and Waterproof the Gourd
Alright, so now that we’ve shaped and smoothed our yerba mate gourd, it’s time to seal and waterproof it.
The first step is to apply a natural sealant to protect the outer surface of the gourd. This will ensure that it doesn’t absorb any moisture or get damaged over time.
Once the sealant is dry, we’ll move on to waterproofing the inside of the gourd to prevent any leakage or seepage when we pour hot water into it. This step is crucial to maintaining the integrity of the gourd and ensuring a perfect yerba mate drinking experience.
Let’s dive into the details and make sure our gourd is well-sealed and waterproofed!
Apply a Natural Sealant
To enhance the beauty of your homemade yerba mate gourd, start by applying a natural sealant that will protect and preserve the wood for years to come.
Natural sealants have several advantages over synthetic ones. They are eco-friendly, non-toxic, and often provide a more authentic finish. However, it’s important to consider the pros and cons of each type before making a decision.
There are different methods of applying natural sealants, such as using oils like linseed or tung oil, or even beeswax. Each method has its own unique benefits and considerations. When choosing a natural sealant, consider factors like durability, ease of application, and the desired look.
Once you’ve applied the sealant and allowed it to dry, you can move on to waterproofing the inside of the gourd.
Waterproof the Inside of the Gourd
Once the natural sealant has been applied and dried, it’s time to ensure the inside of the gourd is waterproofed for long-lasting use. To achieve this, you have a few lining options and sealing techniques to consider.
One popular choice is to use a food-grade epoxy resin, which creates a durable and water-resistant barrier inside the gourd. Make sure to follow the instructions provided by the manufacturer when applying the resin.
Another option is to use a beeswax lining, which not only provides waterproofing but also imparts a subtle honey-like aroma to your mate. Simply melt the beeswax and carefully coat the inside of the gourd, allowing it to dry completely.
Whichever method you choose, it’s important to ensure a thorough and even application. Once the inside is waterproofed, we can move on to the next step of curing and seasoning the gourd, which will enhance its flavor and longevity.
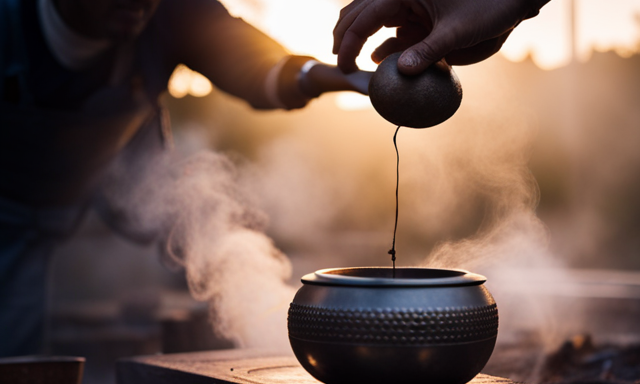
Cure and Season the Gourd
Before diving into the process, let’s explore how to properly cure and season your yerba mate gourd. Curing is an essential step in preparing your gourd for use, as it helps to remove any impurities and improve its durability. To begin the curing process, fill your gourd with yerba mate and add hot water. Allow it to sit for 24 hours, then empty and rinse thoroughly. Repeat this step for three consecutive days. Once your gourd is cured, it’s time to season it. This involves adding yerba mate and hot water, allowing it to sit for a few hours, then emptying and rinsing. Repeat this process several times until the gourd develops a rich, earthy flavor. Now, let’s move on to the next step of adding a handle or straw to complete your homemade yerba mate gourd.
Add a Handle or Straw
Enhance your yerba mate experience with a beautifully crafted handle or straw that adds a touch of elegance and convenience to your sipping pleasure.
Adding a wooden handle to your yerba mate gourd not only improves its aesthetic appeal but also provides a comfortable grip. You can choose from a variety of handle designs, from simple and sleek to intricately carved, to suit your personal style. Simply attach the handle securely to the gourd using strong adhesive or screws, ensuring it is positioned ergonomically for easy handling.
To further elevate your yerba mate ritual, consider using a metal straw. Not only does it add a modern twist to the traditional gourd, but it also enhances the flavor of your mate by allowing for a smoother flow of the beverage. Opt for a high-quality stainless steel straw that is easy to clean and will last for years to come.
Now that your gourd is adorned with a beautiful handle or straw, it’s time to move on to the next step of personalizing and customizing your yerba mate experience.
Personalize and Customize
Transform your yerba mate experience into a unique expression of your personality by adding personalized touches that capture your individual style and bring your gourd to life. Personalizing and customizing your yerba mate gourd allows you to create a truly one-of-a-kind piece that reflects your taste and creativity.
Here are a few ideas to get you started:
-
Personalized Designs: Use acrylic paints or wood-burning tools to create intricate designs that resonate with you. Whether it’s geometric shapes, nature-inspired motifs, or your favorite symbols, let your imagination run wild.
-
Unique Patterns: Experiment with different patterns such as stripes, polka dots, or even a mosaic-like design. Combine colors that complement each other and make your gourd stand out.
-
Engrave Your Initials: Add a personal touch by engraving your initials or name on the gourd. It not only adds a sense of ownership but also makes it easier to identify your gourd in a group.
-
Add Natural Elements: Incorporate natural materials like shells, beads, or feathers to give your gourd an earthy and bohemian vibe.
By personalizing and customizing your yerba mate gourd, you can create a piece that is uniquely yours and represents your style and creativity.
Now, let’s move on to the next section and discover how to enjoy your homemade yerba mate gourd.
Enjoy Your Homemade Yerba Mate Gourd
Indulge in the bliss of sipping from your personalized yerba mate gourd and savor every flavorful sip. There is something truly special about enjoying your homemade yerba mate creation.
Not only do you have the satisfaction of crafting your own gourd, but you also get to reap the health benefits of yerba mate.
Homemade yerba mate recipes offer a world of possibilities. You can add citrus zest or infuse it with herbs like mint or lemongrass, creating a flavor profile that suits your taste buds perfectly.
The natural antioxidants and vitamins present in yerba mate help boost your immune system and provide a gentle energy boost without the jitters that come from other caffeinated beverages.
So, take a moment to sit back, relax, and enjoy the deliciousness of your homemade yerba mate gourd. Let the rich flavors and health benefits of this traditional South American drink transport you to a state of pure bliss.
Frequently Asked Questions
How long does it take for the gourd to fully cure and season?
The gourd needs at least one month to fully cure and season. This process is crucial to remove any bitter taste and ensure a better flavor. Patience is key, as it allows the gourd to develop its unique character and enhance the yerba mate experience.
Can I use any type of wood for the handle or straw?
Yes, you can use different types of wood for the handle or straw of your homemade yerba mate gourd. However, it’s important to choose a wood that is safe for food contact and won’t release harmful substances. Research the best options and take necessary safety precautions.
How do I clean and maintain my homemade yerba mate gourd?
Cleaning and maintaining my homemade yerba mate gourd is a breeze! With a quick rinse, gentle scrub, and occasional soak in vinegar, it stays shiny and fresh. Don’t forget to dry it thoroughly to avoid mold!
Can I use paint or other chemicals to decorate the gourd?
Yes, you can use various decorating techniques to personalize your yerba mate gourd. Consider using non-toxic paints or natural dyes to add vibrant colors. Additionally, you can explore alternative materials like leather or wood for a unique touch.
Are there any health risks associated with using a homemade yerba mate gourd?
Using a homemade yerba mate gourd does not pose any health risks. In fact, it offers numerous health benefits, such as boosting energy, aiding digestion, and providing antioxidants. Additionally, it holds cultural significance in many South American countries.
Conclusion
Making your own yerba mate gourd can be a rewarding and fulfilling experience. If you’re up for the challenge and want to add a personal touch to your yerba mate ritual, here’s how you can do it:
-
Start by selecting a suitable gourd: Look for a gourd that is thick and sturdy, with a wide opening and a flat base. This will ensure that it can hold the yerba mate leaves and hot water without any leaks.
-
Clean and prepare the gourd: Before you begin shaping the gourd, it’s important to clean it thoroughly. Remove any dirt or debris from the inside and outside of the gourd. You can use a small brush or sponge to scrub away any stubborn stains.
-
Shape the gourd: To shape the gourd, you will need to use a combination of tools such as a knife, spoon, or even a drill. Start by carefully cutting off the top of the gourd to create the opening. Then, use a spoon or knife to hollow out the inside, removing any excess pulp or seeds. Be patient and take your time to achieve the desired shape.
-
Smooth the surface: After shaping the gourd, you’ll want to smooth the surface to make it more comfortable to hold and drink from. You can use sandpaper or a small file to gently sand down any rough edges or bumps. Remember to be careful not to damage the gourd or make any deep scratches.
-
Season the gourd: Seasoning the gourd is an important step to enhance the flavor of your yerba mate. Fill the gourd with loose yerba mate leaves and pour hot water over them. Let it sit for a few hours or overnight. This process will help to remove any natural bitterness and add a unique flavor to your mate.
-
Rinse and dry: After seasoning, rinse the gourd thoroughly with warm water to remove any residue. Then, allow it to air dry completely before using it for the first time. This will ensure that your homemade gourd is ready to be filled with delicious yerba mate.
Remember, making your own yerba mate gourd requires patience and attention to detail. But the end result is a personalized and unique gourd that adds an extra special touch to your yerba mate experience. So go ahead, give it a try, and enjoy your homemade mate! Cheers!