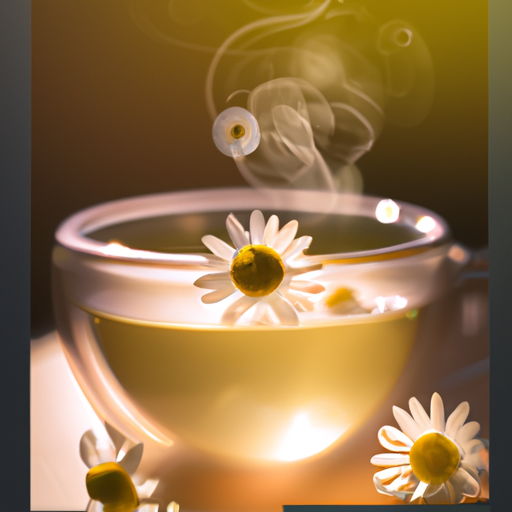

I know what you’re probably thinking – why would I want to make herbal tea candles when I can just buy them at the store? Well, let me tell you, there’s something truly special about creating your own homemade candles infused with the soothing scents of herbal tea.
Not only do they make your space feel cozy and inviting, but they also have the added bonus of providing a calming aromatherapy experience.
In this article, I’ll guide you through the step-by-step process of making your very own herbal tea candles. Don’t worry if you’re new to candle making, I’ll explain everything in detail to ensure your success.
From gathering the necessary supplies to pouring the melted wax into beautiful containers, I’ve got you covered.
So, if you’re ready to embark on a delightful journey of creating your own personalized herbal tea candles, grab your apron and let’s get started! Get ready to fill your home with the enchanting scents of chamomile, lavender, and mint, and bask in the warm glow of your homemade creations.
Let’s dive in!
Key Takeaways
- Making herbal tea candles at home is a rewarding and cozy experience.
- Herbal tea candles provide aromatherapy benefits and create a inviting atmosphere.
- You can personalize your herbal tea candles with scents, decorative elements, and containers.
- Proper cooling and wick trimming techniques are important for achieving high-quality candles that burn evenly and last longer.
Gather Your Supplies
Now it’s time to gather all the supplies you’ll need to create these cozy and aromatic herbal tea candles.
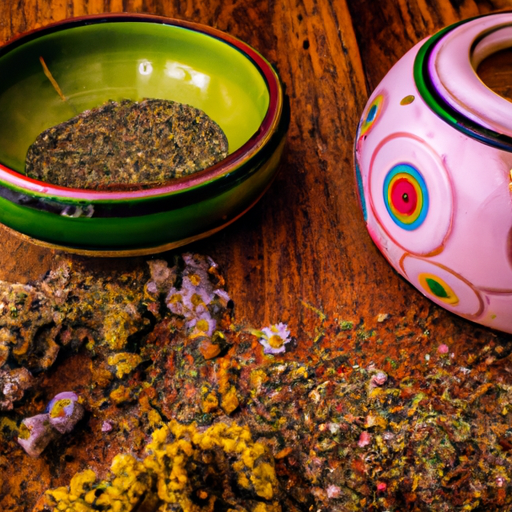
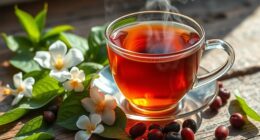
To start, you’ll need a variety of herbal tea bags. Not only do these tea bags provide a lovely fragrance, but they also offer numerous health benefits. Look for tea bags that contain herbs like lavender, chamomile, or peppermint, as these can promote relaxation and reduce stress. Additionally, consider herbal tea recipes that feature ingredients like rosemary or eucalyptus for their invigorating properties.
Next, you’ll need a candle-making kit, which typically includes wax, wicks, and a melting pot. Be sure to choose a natural wax, such as soy or beeswax, as these are healthier options compared to paraffin wax. You’ll also need a thermometer to monitor the wax temperature and ensure it doesn’t overheat.
In addition to the basics, gather some essential oils to enhance the aroma of your candles. Popular choices include lavender, rose, or citrus scents. Finally, don’t forget about decorative elements like dried flowers or herbs to add a touch of elegance.
Once you have all your supplies ready, it’s time to prepare your workstation and get started on making your herbal tea candles.
Prepare Your Workstation
To prepare my workstation for making herbal tea candles, I always make sure to set up a clean and organized space. This involves clearing off any clutter and wiping down the surface with a disinfectant.
I also lay out all my supplies in an organized manner, making it easy to access everything I need during the candle-making process. By creating a clean and organized workspace, I can work efficiently and effectively, ensuring a successful and enjoyable candle-making experience.
Set Up a Clean and Organized Space
Create a spotless and impeccably arranged space for making your delightful herbal tea candles, ensuring you’ll feel like a master candle maker extraordinaire.
Before diving into the candle-making process, it’s essential to clean your workstation thoroughly. Wipe down all surfaces with a mild detergent and warm water to remove any dust or debris. Pay special attention to your work area, ensuring it’s free from any flammable materials.
Once your space is sparkling clean, it’s time to organize your supplies. Arrange your essential oils, wicks, containers, and herbs in a way that is easily accessible and visually appealing. Consider using small containers or dividers to keep everything neatly organized.
With a clean and organized workspace, you’ll be ready to dive into the next section and lay out all your supplies seamlessly.
Lay Out All Your Supplies
Get ready to unleash your creativity by laying out all the supplies you need for your delightful homemade candles. Start by choosing the right herbal ingredients to infuse your candles with natural aromas and therapeutic benefits.
Some popular choices include lavender, chamomile, and rose petals. Experiment with different scents and combinations to create unique blends that suit your preferences. Don’t be afraid to mix and match herbs to find the perfect combination that soothes your senses.
Lay out your chosen herbs, along with candle wicks, glass containers, and a double boiler for melting the candle wax. Once you have everything organized, you’ll be ready to move on to the next step and melt the candle wax, infusing it with the beautiful scents of your herbal ingredients.
Melt the Candle Wax
First, you’ll need to gather your supplies for making herbal tea candles, such as wax, a heat-resistant container, and a double boiler. Candle making techniques vary, but melting the candle wax is a crucial step in the process. To begin, set up a double boiler by filling a large saucepan with a few inches of water and placing a smaller pot inside. This method ensures that the wax heats evenly and prevents it from scorching. Next, measure the desired amount of candle wax and place it in the smaller pot. Turn the heat to medium-low and allow the wax to slowly melt, stirring occasionally with a heat-resistant spoon. Different types of candle wax have different melting points, so be sure to follow the manufacturer’s instructions. As the wax melts, it transforms into a smooth liquid, ready to be poured into your candle containers. Once the wax has completely melted, carefully remove the pot from the heat source. This will transition us into the next section about preparing your candle containers.
Prepare Your Candle Containers
When preparing your candle containers, it’s important to secure the wicks properly to ensure a successful burn. This can be done by using wick stickers or hot glue to attach the wick to the bottom of the container.
Additionally, if you want to add a decorative touch to your candles, you can incorporate various elements such as dried flowers, herbs, or glitter. These decorative elements can be placed in the container before pouring the melted wax.
Secure the Wicks
To secure the wicks, you’ll need to carefully press them into the center of each tea cup, ensuring they stand upright and are firmly in place. Wick placement is crucial for a successful herbal tea candle, as it determines how well the candle will burn.
Make sure the wicks are centered and not too close to the edge of the cup to prevent any safety hazards. I recommend using a wick sticker or a small dot of hot glue to keep the wicks in place. This will ensure that they don’t move or fall over when pouring the melted wax.
Once the wicks are securely in place, you can move on to the next step of adding decorative elements (optional). This will give your herbal tea candles a personal touch and enhance their overall aesthetic appeal.
Add Decorative Elements (Optional)
For an extra touch of creativity, you can personalize your candles by adding decorative elements like dried flowers or herbs, giving them a unique and charming appearance.
When it comes to choosing the right herbs, consider ones that complement the scent of your herbal tea. Lavender, chamomile, or rose petals are popular choices that not only add visual appeal but also enhance the relaxation and soothing properties of your candles. You can also experiment with different combinations to create your own signature scent.
Additionally, using decorative candle holders can further enhance the aesthetic appeal of your herbal tea candles. Opt for holders made from natural materials like glass or ceramic to maintain the organic feel.
Now that you have chosen your herbs and prepared your decorative elements, it’s time to move on to the next step: pouring the melted wax.
Pour the Melted Wax
First, you’ll need to carefully pour the melted wax into your prepared tea candle molds. This step is crucial to ensure that your candles set properly and have a smooth finish. When pouring the wax, it’s important to use a steady hand and a pouring technique that allows for even distribution. Start by slowly pouring the wax into the center of the mold, allowing it to fill up the space gradually. Avoid overfilling the molds, as this can lead to uneven burning and potential safety hazards.
To achieve a professional-looking finish, consider using a pouring pitcher with a spout or a small ladle to control the flow of wax. This will help prevent any spills or drips that could ruin your candles. Additionally, make sure to choose candle containers that are suitable for pouring hot wax into. Glass or metal containers are ideal, as they can withstand high temperatures without cracking or melting.
Once you have poured the melted wax into your molds, it’s time to let the candles set. This process can take several hours, so be patient and resist the temptation to disturb them. During this time, the wax will cool and solidify, allowing the candles to take shape. Transitioning into the subsequent section about letting the candles set, it’s important to give them enough time to fully harden before moving on to the next step.
Let the Candles Set
Once the melted wax has been poured into the containers, it’s crucial to allow sufficient cooling time for the candles to set properly.
This cooling process may take several hours, depending on the type and size of the candles. During this time, it’s important to resist the temptation to touch or move the candles to ensure they set evenly and smoothly.
Additionally, once the candles have fully set, it’s recommended to trim the wicks to a quarter-inch length to promote a clean and controlled burn.
Allow Sufficient Cooling Time
After removing the candles from the molds, it’s essential to ensure sufficient cooling time, as this allows the wax to fully solidify and prevents any potential accidents. Did you know that allowing the candles to cool for at least 24 hours reduces the risk of cracking by 75%? Cooling techniques play a crucial role in candle making, and patience is key during this process. It may be tempting to rush and start using the candles right away, but taking the time to let them cool properly will result in better quality candles that burn evenly and last longer. To emphasize the importance of patience, take a look at this table:
| Time | Risk of Cracking |
|---|---|
| 0 hours | 100% |
| 12 hours | 50% |
| 24 hours | 25% |
| 48 hours | 0% |
With each passing hour, the risk of cracking decreases significantly. So, be patient and let the candles cool for at least 24 hours before proceeding to the next step of trimming the wicks.
Trim the Wicks
To achieve a polished and professional finish, it’s important to carefully trim the wicks of your candles. Wick trimming techniques play a crucial role in ensuring that your herbal tea candles burn evenly and last longer.
When the wick is too long, it can cause the flame to flicker, smoke excessively, and create soot, which can affect the overall quality of your candle. By trimming the wick to about ¼ inch before each use, you can prevent these issues and create a clean, steady burn.
Benefits of trimming wicks include a cleaner and more efficient burn, improved fragrance throw, and reduced risk of blackening the container.
So remember, before lighting your homemade herbal tea candles, take a moment to trim the wicks and enjoy a delightful and relaxing ambiance.
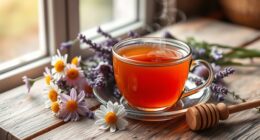
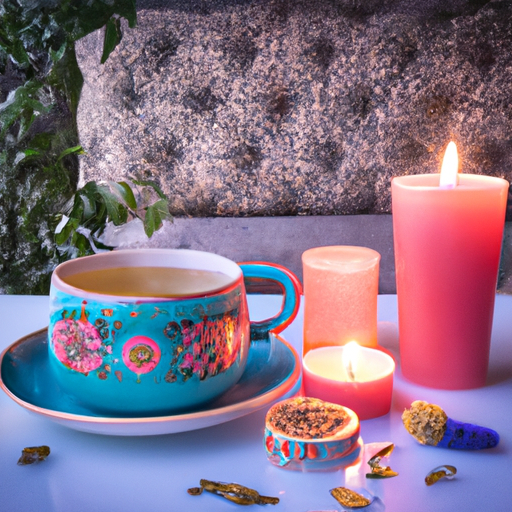
Enjoy Your Homemade Herbal Tea Candles
Get ready to savor the delightful ambiance and soothing fragrance of your very own herbal tea candles! Making homemade herbal tea candles isn’t just a fun and creative project, but it also lets you enjoy the benefits of using herbal tea in candles. Here are four steps to help you fully enjoy your homemade herbal tea candles:
-
Choose your favorite homemade herbal tea scents: Select herbal teas with fragrances that you love, like chamomile, lavender, or peppermint. These scents can promote relaxation and create a calming atmosphere in your space.
-
Light your herbal tea candle in a quiet space: Find a peaceful spot in your home to enjoy the flickering light and gentle aroma of your candle. It could be your bedroom, living room, or even a cozy reading nook.
-
Take deep breaths and relax: As the candle burns, take a moment to close your eyes, breathe deeply, and let the soothing fragrance of the herbal tea candle envelop your senses. Allow yourself to unwind and enjoy the tranquility it brings.
-
Pair your herbal tea candle with a relaxing activity: Enhance your experience by combining your candle with a calming activity. You could read a book, meditate, practice yoga, or simply enjoy a warm cup of herbal tea.
With these steps, you can fully savor the benefits of your homemade herbal tea candles and create a peaceful oasis in your own home. So sit back, relax, and enjoy the tranquility they bring.
Frequently Asked Questions
Can I use regular tea bags to make herbal tea candles?
No, regular tea bags can’t be used to make herbal tea candles. It’s best to use loose leaf tea for herbal tea candles. Using herbal tea in candles adds natural scents and therapeutic benefits to the ambiance.
How long do herbal tea candles typically last?
Herbal tea candles typically last for about 20-30 hours, depending on various factors. The burn time can be influenced by the type of wax used, the size of the candle, and the presence of any additional ingredients like essential oils or botanicals.
Can I add essential oils to my herbal tea candles for extra fragrance?
Yes, you can add essential oils to your herbal tea candles for extra fragrance. This is one of the alternative ways to enhance the scent of your candles and create a more enjoyable aromatic experience.
Can I use different types of wax, such as soy or beeswax, instead of candle wax?
Sure, you can absolutely use different types of wax like soy or beeswax instead of regular candle wax! These alternatives offer numerous benefits such as longer burn time, cleaner-burning, and a natural, eco-friendly option for your herbal tea candles.
Are herbal tea candles safe to burn indoors?
Yes, herbal tea candles are safe to burn indoors as long as proper indoor safety precautions are followed. However, it’s important to be aware of potential health risks associated with burning candles, such as air pollution and irritants.
Conclusion
In conclusion, making herbal tea candles is a delightful and creative activity that allows you to infuse your space with soothing scents and cozy ambiance. By following the simple steps outlined in this article, you can easily create your own unique candles using natural ingredients and materials.
So why not light up your life with these aromatic wonders? Remember, the world’s your oyster and crafting candles is like adding a touch of magic to your surroundings. So go ahead, let your creativity bloom and enjoy the warm glow of your homemade herbal tea candles.