As an experienced adventurer setting out on a fresh gastronomic quest, I encourage you to come along with me as we explore the technique of preparing a butternut squash for yerba mate.
In this guide, we will delve into the intricate process of transforming a simple gourd into a vessel that will enhance the flavor and experience of this cherished South American beverage.
With scientific precision and attention to detail, we will explore each step, from selecting the right gourd to cleaning, curing, and seasoning it.
Through this transformative process, we will unlock the unique flavor profile of yerba mate, creating a harmonious blend of earthy richness and herbal infusion.
As we navigate this realm of flavors, I will also share tips on cleaning and maintaining your cured gourd, as well as experimenting with different yerba mate blends.
So, let us embark on this flavorful expedition and uncover the secrets of curing a butternut gourd for yerba mate.
Key Takeaways
- Select a firm gourd around 4-5 inches in diameter with a smooth surface for easy cleaning
- Clean the gourd by scrubbing the exterior with mild soap, removing the stem, and allowing it to air dry
- Remove the inner flesh and seeds by using a sturdy spoon or small knife, ensuring a clean surface for the curing process
- Cure the gourd by soaking it in a salt and water solution, experimenting with different salt concentrations and durations
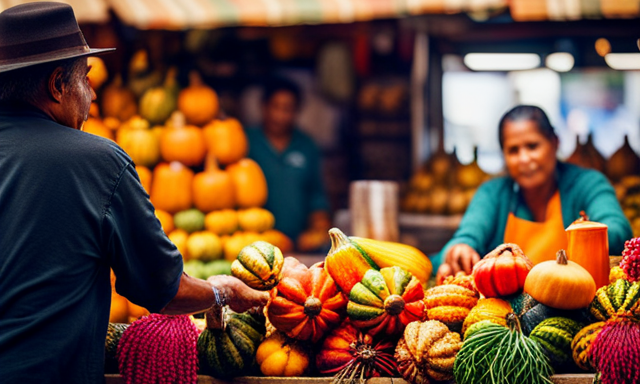
Selecting the Right Butternut Gourd
When it comes to picking the perfect butternut gourd for your yerba mate, there are a few things to consider. First, you’ll want to keep an eye out for one that’s nice and firm. Give it a gentle squeeze to ensure it’s ready to be cured.
Choosing the right size is crucial. You want a gourd that can hold an adequate amount of yerba mate leaves. Look for a gourd that is around 4-5 inches in diameter. This will allow enough space for the leaves to expand and release their flavors.
Additionally, make sure to select a gourd with a smooth surface. This will make it easier to clean and maintain. Cleaning techniques are essential to ensure the gourd is free from any impurities. Use a small brush to remove any dirt or debris, and rinse it thoroughly with warm water.
Transitioning into the subsequent section about cleaning and preparing the gourd, it is important to start this process with a clean and properly selected gourd.
Cleaning and Preparing the Gourd
First, make sure you thoroughly wash and prep your gourd for the best yerba mate experience. Preparing the gourd for infusion is an essential step in achieving a flavorful and satisfying drink.
Using a butternut gourd offers several benefits, such as its natural shape and size, which allows for easy handling and optimal infusion.
To begin, gently scrub the exterior of the gourd with a soft brush and mild soap to remove any dirt or residue. Rinse it thoroughly with warm water and allow it to air dry.
Next, carefully remove the stem using a sharp knife, ensuring a clean cut. This step allows for easy insertion of the yerba mate leaves and prevents any obstruction during the drinking process.
By properly cleaning and preparing the gourd, you lay the foundation for a delightful yerba mate experience.
Moving forward, let’s delve into the next stage of removing the inner flesh and seeds.
Removing the Inner Flesh and Seeds
Now it’s time to dig in and scoop out the inner flesh and seeds, giving your gourd a clean canvas for the perfect infusion.
To start, use a sturdy spoon or a small knife to carefully remove the flesh and seeds from the inside of the gourd. Make sure to scrape the walls thoroughly, ensuring that no residue is left behind.
To remove the flesh efficiently, I recommend using a circular motion, applying gentle pressure as you go. This technique will help to loosen the flesh and make it easier to scoop out.
Once you have removed all the flesh and seeds, rinse the gourd thoroughly with water. This step is essential for gourd preservation, as it helps to remove any remaining debris and ensures a clean surface for the curing process.
Transitioning into the next section on curing the gourd with salt and water, it is crucial to prepare the gourd properly before moving forward.
Curing the Gourd with Salt and Water
To properly prepare the gourd for infusion, it’s essential to embark on the process of curing it with a combination of salt and water. Curing techniques vary, but the most common method involves soaking the gourd in a solution of water and salt for about 24 hours. This helps to remove any impurities and bacteria from the gourd, ensuring a clean and safe drinking vessel.
To execute this curing process, I recommend using the following table as a guide:
| Curing Technique | Salt Concentration | Duration |
|---|---|---|
| Traditional | 10% | 24 hours |
| Alternative 1 | 5% | 48 hours |
| Alternative 2 | 15% | 12 hours |
By experimenting with alternative curing methods, you can find the perfect balance of salt concentration and duration that suits your taste preferences. Once the gourd has been properly cured, it’s time to move on to the next step of drying and seasoning the gourd, which will further enhance the flavor of your yerba mate.
Drying and Seasoning the Gourd
Once you’ve finished the curing process, it’s time to dry and season your gourd to enhance its flavor and prepare it for a delightful drinking experience.
Proper drying techniques are crucial to avoid mold or unpleasant flavors. Start by placing the gourd in a well-ventilated area, away from direct sunlight, and allow it to air dry completely. This can take around 2 to 3 days, depending on the humidity level.
To further enhance the flavor, you can season the gourd by adding a small amount of yerba mate and hot water. Let it sit for a few hours, then rinse it thoroughly. This seasoning method helps to remove any remaining impurities and adds a subtle taste to the gourd.
With the gourd now dried and seasoned, we can move on to preparing the yerba mate for a truly enjoyable experience.
Preparing the Yerba Mate
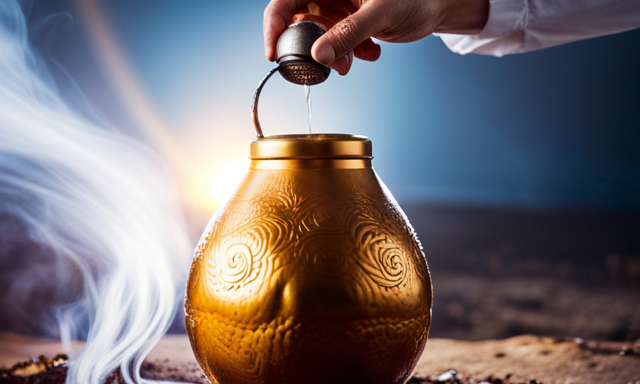
After successfully drying and seasoning your gourd, it’s time to get ready for the ultimate yerba mate experience. Preparing the yerba mate involves following specific brewing techniques to ensure a rich and flavorful infusion.
Firstly, fill the cured gourd about halfway with loose yerba mate leaves. Gently tilt the gourd to one side, allowing the smaller particles and dust to gather on the opposite side. This will create a natural filter when sipping the mate later.
Next, cover the opening of the gourd with your hand and turn it upside down, shaking it gently to distribute the powdery particles evenly. Then, using a bombilla (a special metal straw with a filter at the bottom), insert it into the yerba mate, ensuring it reaches the bottom of the gourd.
Finally, transition into the subsequent section about ‘adding yerba mate to the cured gourd’ by mentioning the importance of the next step in achieving the perfect yerba mate experience.
Adding Yerba Mate to the Cured Gourd
Now that you’ve perfectly prepared your vessel, it’s time to add the magical herb that’ll transport you to yerba mate bliss. Here are three ways to enhance the flavor of yerba mate:
-
Experiment with different temperatures: Yerba mate can be brewed with hot or cold water. Each method offers a unique taste profile. Try brewing with hot water for a robust and traditional flavor. Alternatively, steep with cold water for a refreshing and smooth infusion.
-
Add natural sweeteners or herbs: Customize your yerba mate experience by adding a touch of sweetness or herbal notes. Consider sprinkling in some stevia or adding a sprig of mint to enhance the flavor and aroma of your brew.
-
Try different brewing methods: Explore the world of yerba mate by experimenting with various brewing methods. From the traditional gourd and bombilla to a French press or tea infuser, each method can yield a distinct flavor and mouthfeel.
By incorporating these techniques, you can unlock the full potential and benefits of drinking yerba mate. Enjoy the unique flavor profile and discover your personal preference for this beloved South American beverage.
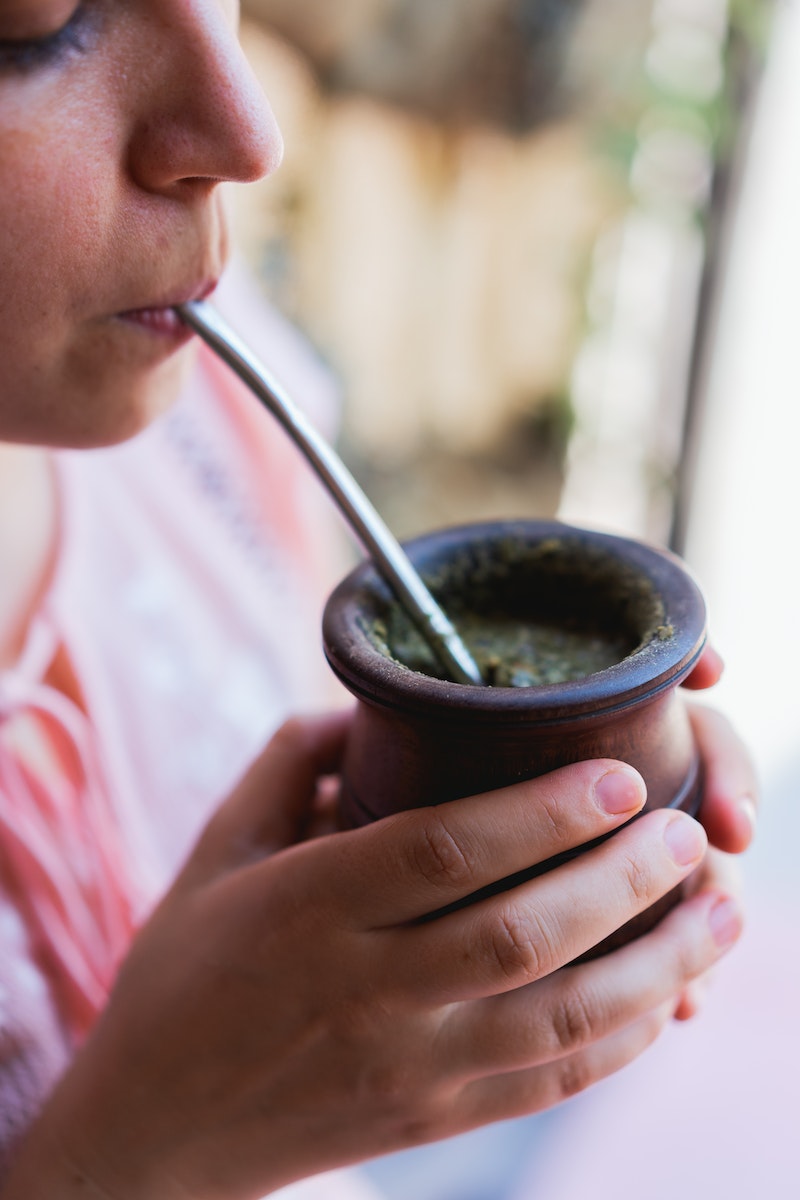
Enjoying the Unique Flavor Profile
To fully savor the one-of-a-kind taste experience, it’s time to indulge in the unique flavor profile of this cherished South American beverage. Yerba mate offers a rich and complex flavor that is both earthy and herbaceous, with hints of bitterness and a subtle sweetness. Exploring alternative brewing methods can enhance and personalize the flavor even further. One such method is the use of a bombilla, a traditional metal straw that filters the mate leaves while drinking. This allows for a more intense and concentrated flavor. Another way to experiment with the flavor is by pairing yerba mate with different foods. The robust taste of mate pairs exceptionally well with savory dishes like grilled meats or cheese. The bold flavors complement each other, creating a truly satisfying culinary experience. Transitioning into the subsequent section about cleaning and maintaining the cured gourd, it is important to maintain the integrity of the gourd to ensure the best flavor in future mate sessions.
Cleaning and Maintaining the Cured Gourd
In order to preserve the quality and flavor of this treasured South American beverage, it’s imperative to properly clean and maintain the cured vessel used for brewing. Maintaining gourd hygiene is crucial to prevent the growth of mold, which can negatively impact the taste and safety of yerba mate.
After each use, the gourd should be emptied, rinsed with warm water, and gently scrubbed using a soft brush. It’s important to avoid using soap or harsh chemicals, as they can leave residues that alter the flavor.
Once clean, the gourd should be dried thoroughly, preferably in a well-ventilated area, to prevent moisture buildup. Regular inspections should be conducted to check for any signs of mold or damage, and if necessary, the gourd should be re-cured.
By following these cleaning and maintenance practices, the gourd can continue to provide a perfect vessel for enjoying yerba mate.
Now, let’s delve into the exciting world of experimenting with different yerba mate blends.
Experimenting with Different Yerba Mate Blends
Try mixing various herbs and spices with your yerba mate to create unique and flavorful blends that will take your drinking experience to a whole new level. Experimenting with different yerba mate blends allows you to explore the health benefits and cultural traditions associated with this popular South American beverage.
-
Cinnamon: Add a touch of warmth and sweetness to your yerba mate by incorporating cinnamon. This spice is known for its antioxidant properties and may help regulate blood sugar levels.
-
Mint: Refresh your palate and invigorate your senses by adding mint to your yerba mate. Mint has been used for centuries to aid digestion and promote relaxation.
-
Ginger: Spice up your yerba mate with the zing of ginger. This root has anti-inflammatory properties and can help soothe an upset stomach.
By experimenting with these different blends, you can enhance the flavor profile of your yerba mate while reaping the potential health benefits associated with these herbs and spices. Embrace the rich cultural traditions and explore the endless possibilities of creating your own unique yerba mate blends.
Frequently Asked Questions
How long does it take to cure a butternut gourd with salt and water?
It typically takes about 2-3 weeks to cure a butternut gourd with salt and water. However, there are alternative methods such as using heat or natural oils that can speed up the curing process.
Can I use a different type of gourd for curing yerba mate?
Different types of gourds can be used as alternatives to butternut gourd for curing yerba mate. These options include calabash gourds, ceramic gourds, and stainless steel gourds, each offering unique qualities for preparing yerba mate.
What are some common mistakes to avoid when preparing the yerba mate?
Common mistakes when preparing yerba mate include using boiling water, overpacking the gourd, and not properly curing it. Tips and tricks for a perfect mate include using warm water, leaving space for expansion, and curing the gourd with yerba mate before use.
Is it necessary to dry the gourd before adding yerba mate?
Yes, it is necessary to dry the gourd before adding yerba mate. Drying the gourd eliminates moisture, preventing mold growth and ensuring a better taste. Alternatives include using a ceramic or stainless steel vessel.
Are there any health benefits associated with drinking yerba mate from a cured gourd?
Drinking yerba mate from a properly cured gourd offers numerous benefits for overall health. It enhances focus, boosts metabolism, and provides antioxidants. To maintain its quality, clean the cured gourd gently with warm water and avoid exposure to extreme temperatures.
Conclusion
In conclusion, curing a butternut gourd for yerba mate is a process that requires careful attention to detail and patience. The result is a gourd that enhances the flavor of yerba mate and provides a unique drinking experience.
One example of this is the case study of Maria, who followed the steps outlined in this article and found that the cured gourd enhanced the earthy undertones of her favorite yerba mate blend, creating a rich and satisfying drink.
With proper cleaning and maintenance, the cured gourd can continue to enhance the flavor of yerba mate for years to come.